Coordinate transformation
Place test objects on the measurement platform in the most convenient orientation.
Place test objects on the measurement platform in the most convenient orientation.

Place test objects on the measurement platform in the most convenient orientation.
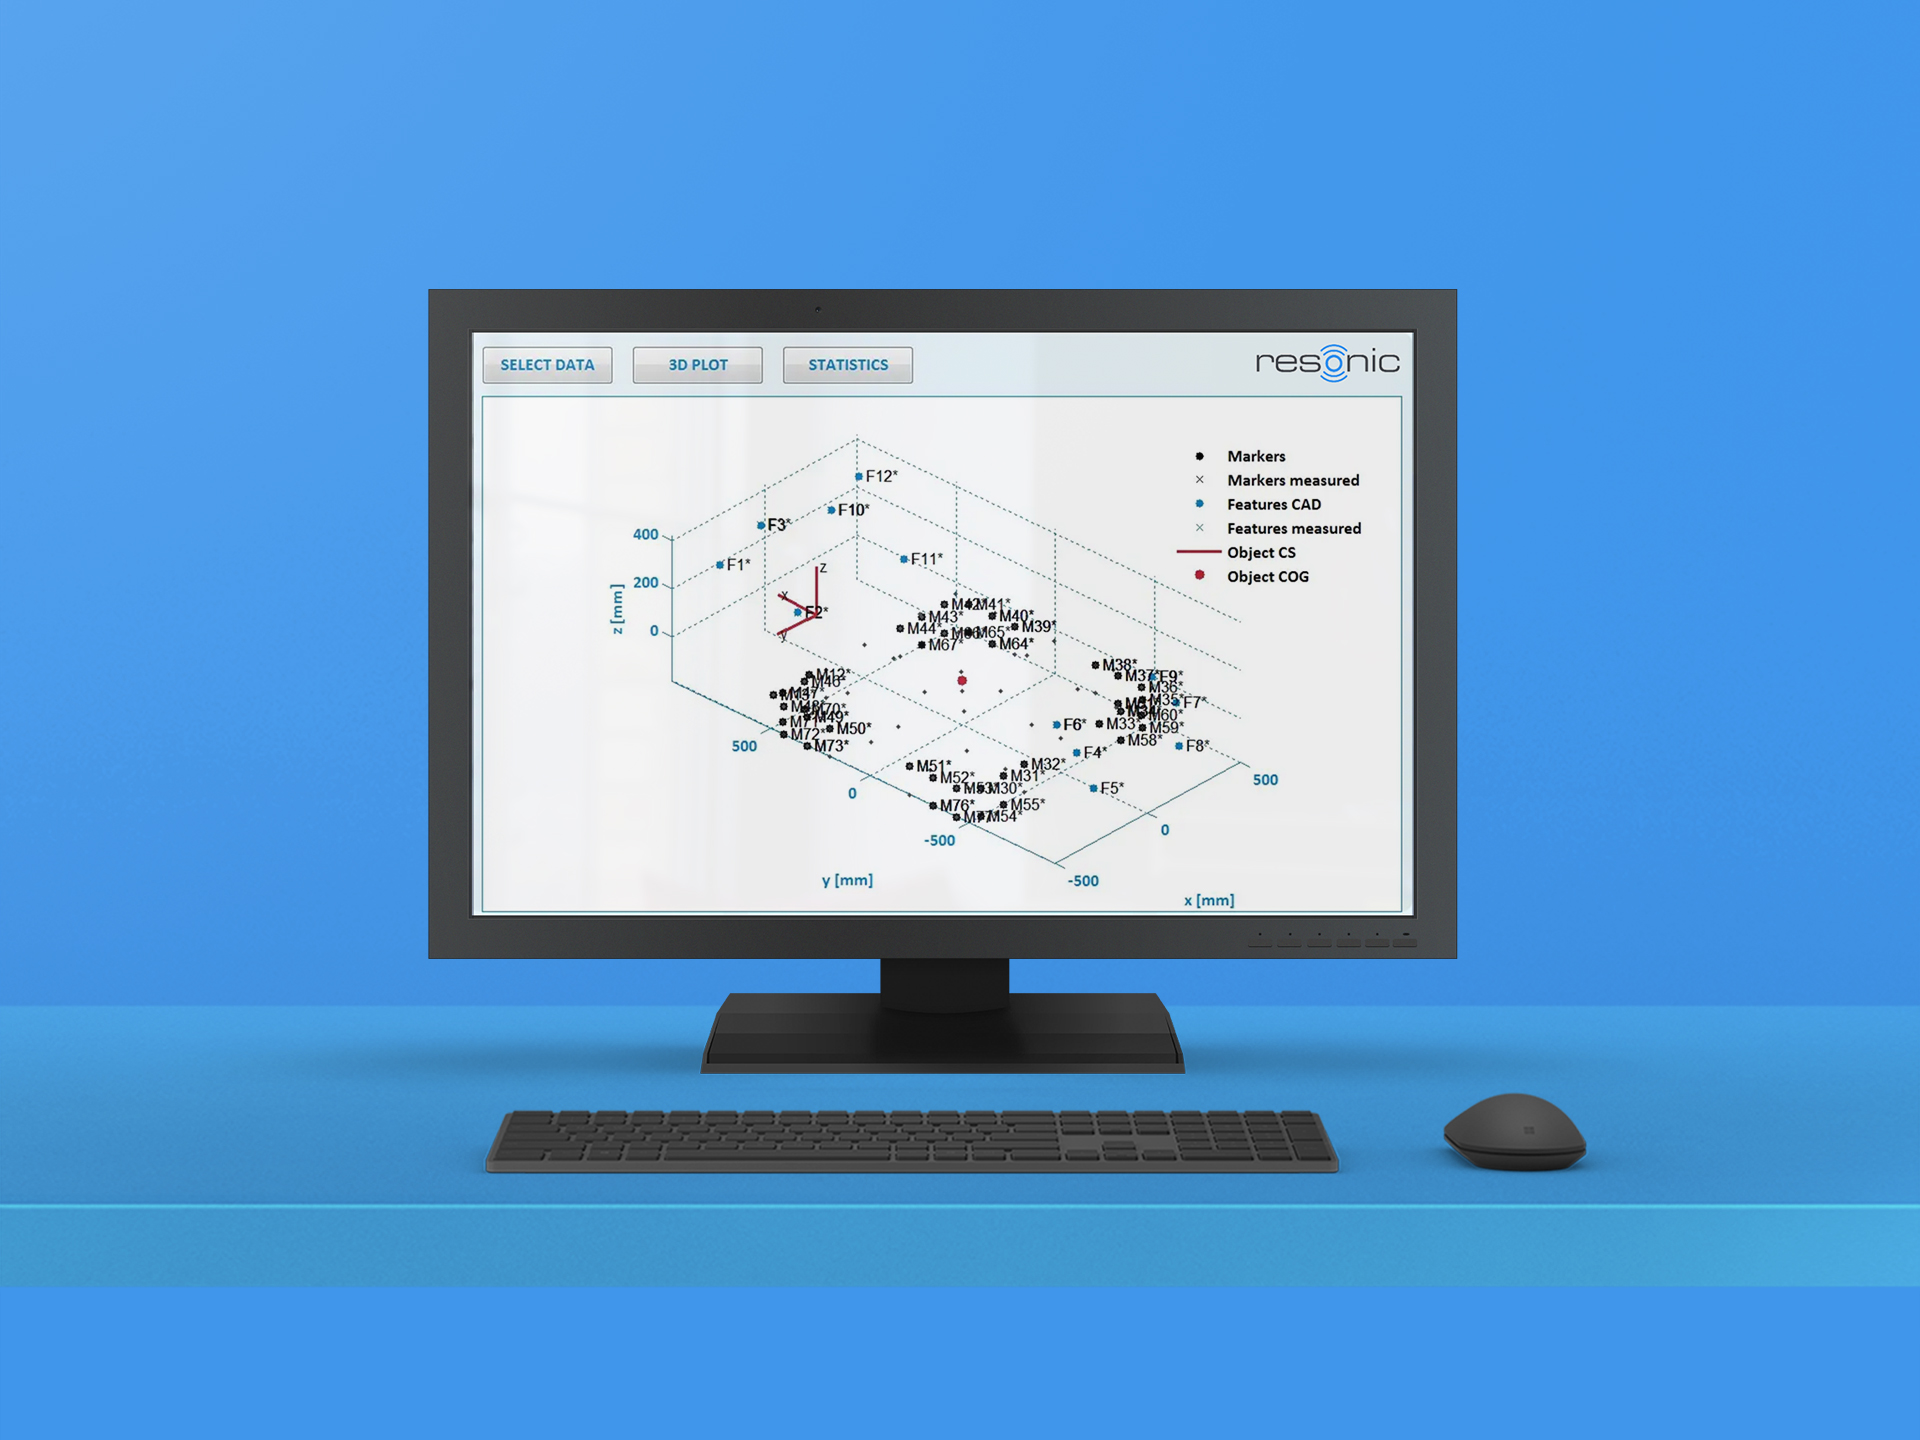
Resonic’s coordinate transformation solutions make it possible to place the test object on the measurement platform in the most convenient position, without needing to consider the location of the test object coordinate system. A 3D measurement device measures the actual position, and the Resonic software transforms the mass property results into the test object coordinate system.
Any attempts at manual alignment are less accurate than 3D measurements. Even precision adapters are almost always less accurate than 3D measurements.
Even for objects with simple shapes (e.g., offshore platform models or satellites with plane interface flanges), accurate alignment can be time-consuming.
Particularly for oddly shaped test objects, accurate alignment is nearly impossible without expensive precision adapters.
Any attempt at manual alignment is susceptible to human error. By contrast, the 3D measurements include quality indicators that make it almost impossible for errors to remain unnoticed.
By default, the Resonic software includes a coordinate transformation GUI. This GUI requires the following data as inputs:
The GUI then does the following:
Unless the customer already has a 3D measurement system for other applications, any conventional 3D measurement solution will significantly increase the overall cost of the mass property measurement system. To solve this problem, Resonic has developed an inexpensive, but highly accurate, photogrammetry system with very limited software functionality and integrated the necessary functionality for data processing into its software. This system is by far the most cost-effective solution for coordinate transformations.